*This post may contain affiliate links. If you buy a product I may get a kick back at no extra cost to you. As always, I would NEVER suggest a product that I did not love and trust myself!*
I’m going to tell you a secret..for the longest time I did nothing with Pinterest in regards to my blog. Of course I had a Pinterest, but I used it for personal uses. It was always a fun way to dream about the future or what you wanted in life. Of course, when I started my blog I didn’t think anything of Pinterest. I even figured that Pinterest wouldn’t go very far when building my business. Boy, was I WRONG!
It wasn’t until someone pointed out that Pinterest is like Google. A search engine. People simply search for what they want; a recipe, DIY crafts, home decor or hair styles (and many more). It wasn’t until then that it occurred to me, why am I not on Pinterest?
That is where my journey with Pinterest started. It took a lot of research before I even created a Pinterest account (which you can access here) simply because I had no idea what I was doing. Of course I knew how to pin something but not how to create pins, what boards to build, board covers and everything else that went into building a business through Pinterest. I can tell you now, Pinterest is my number one source of traffic for my blog. It is amazing! And of course, a shout out to Megan with Pinterest Ninja for all of her help! I highly recommend her course if you are a beginner that knows next to nothing about Pinterest (no shame here!) 🙂
Now that you have heard my story- I want to go through a few steps that you can use to increase you Pinterest Following as well!
Tip #1: You want a Pin that is Tall, Dark and Handsome
Just kidding, you want a Pin that is simply Tall (vertical and long). The reasoning for this is because if you have a pin that is long and vertical, it will take up more space in your (or someone else’s) feed.
It is easy to think about when you talk about real estate. When you are driving down a road and have a house that is on a small property next to a bunch of other houses (your stereotypical cookie cutter/suburban neighborhoods) you tend to look over a lot of houses because they are approximately the same size and style. Now, if you continue to go down this road and all of a sudden there is a huge house with a lot of property, you take notice and you are more likely to remember that house. Make sense? The longer, the better!
Tip #2: Location, Location, Location!
We will go back to the above tip, you want a pin that is vertical and long. However, Pinterest is always changing up it’s layout and sometimes the pin will be shown completely in the feed, and other times it may get cut off in the feed. This is where location becomes very important! You want your wording to be at the top of the pin, so no matter what, your wording will not get cut off.
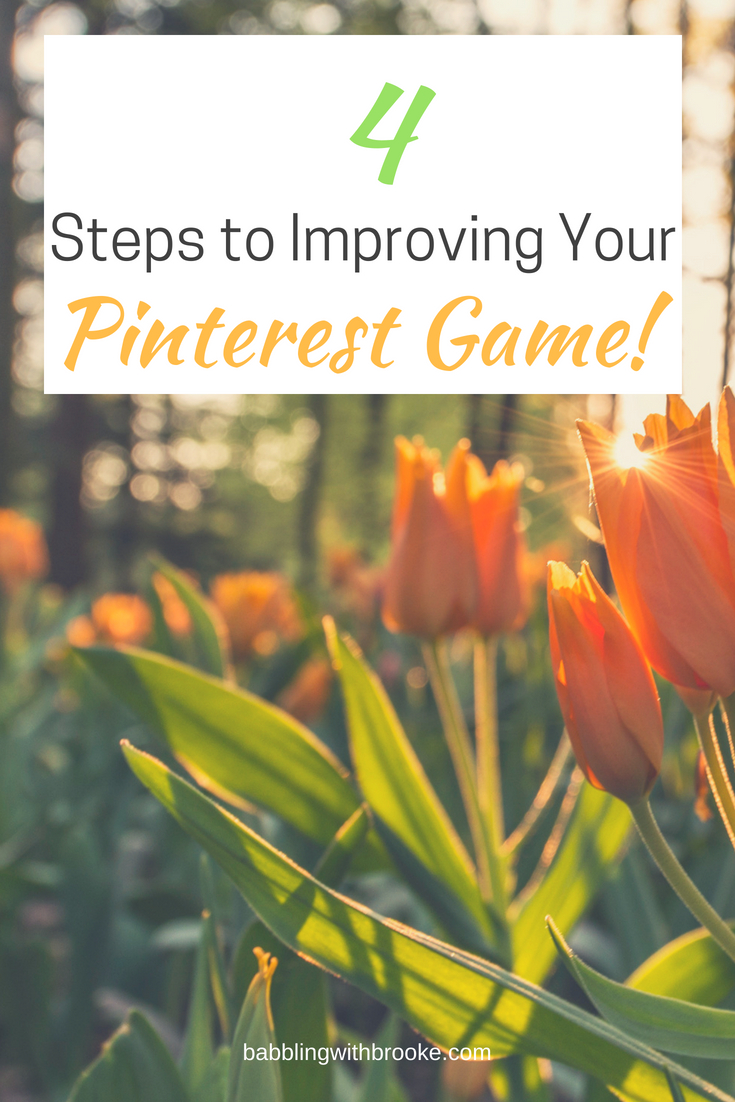
For instance, the pin below. All of the wording is at the top of the Pin so the viewer will see it easily when scrolling through their feed.
Tip #3: Be Bold!
When you are placing and creating your wording on your new Pin, you want to emphasize certain words. For instance, in the example below, I emphasized the number of steps and what the post was about. This way the viewer can easily figure out what exactly this blog will talk about. 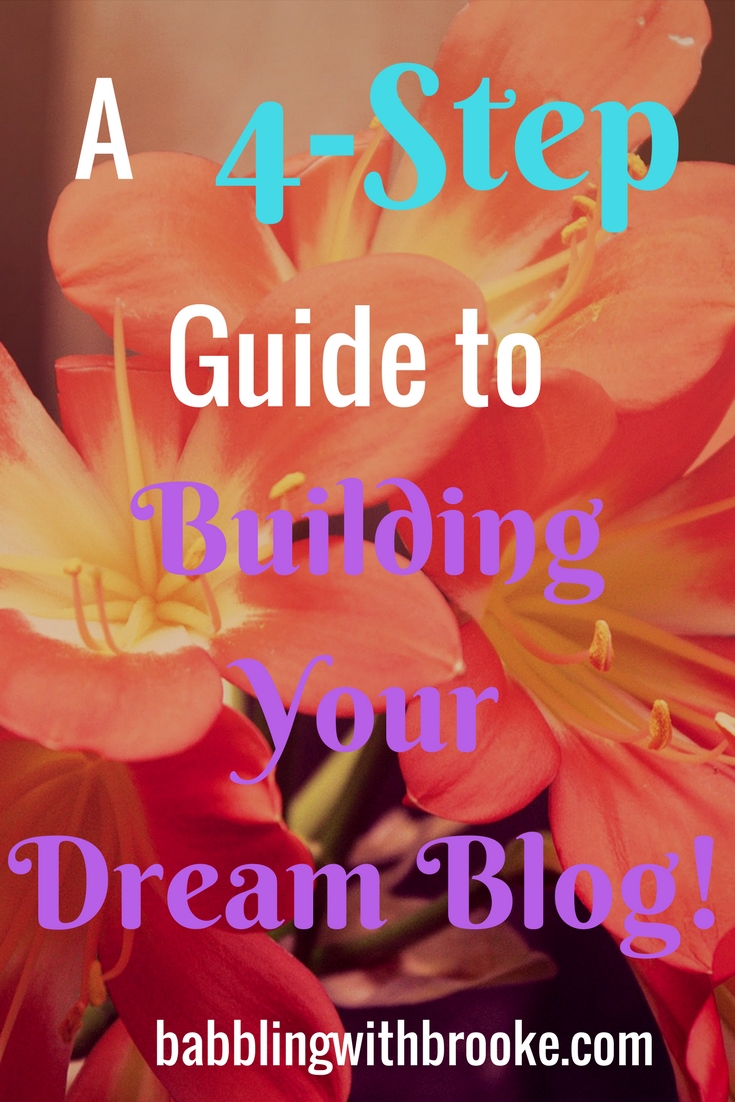
A good way to do this is by changing the font and the colors of the font. This helps you emphasize the wording more and it also helps you stick out in your smart feed. This is something you want to have fun with but don’t go too crazy. Too much will make the post feel “busy”, which will turn away potential viewers.
Tip #4: Don’t be the same as everyone else
And what I mean by this is, create different pins. You don’t want all of your pins to look the same because they will just get looked over by Pinterest and Pinterest users. Pinterest categorizes pins by three different things:
- Pin image quality and overall look
- Description of pin
- And users interest
This tip applies to the first Pin categorization of “Pin quality and overall look”. If all of your pins have the same overall look then they will get categorized into the same box and won’t get you the absolute farthest reach you can get.
With that being said, if you do this is won’t necessarily hurt you, however you want your pins to reach as far as possible.
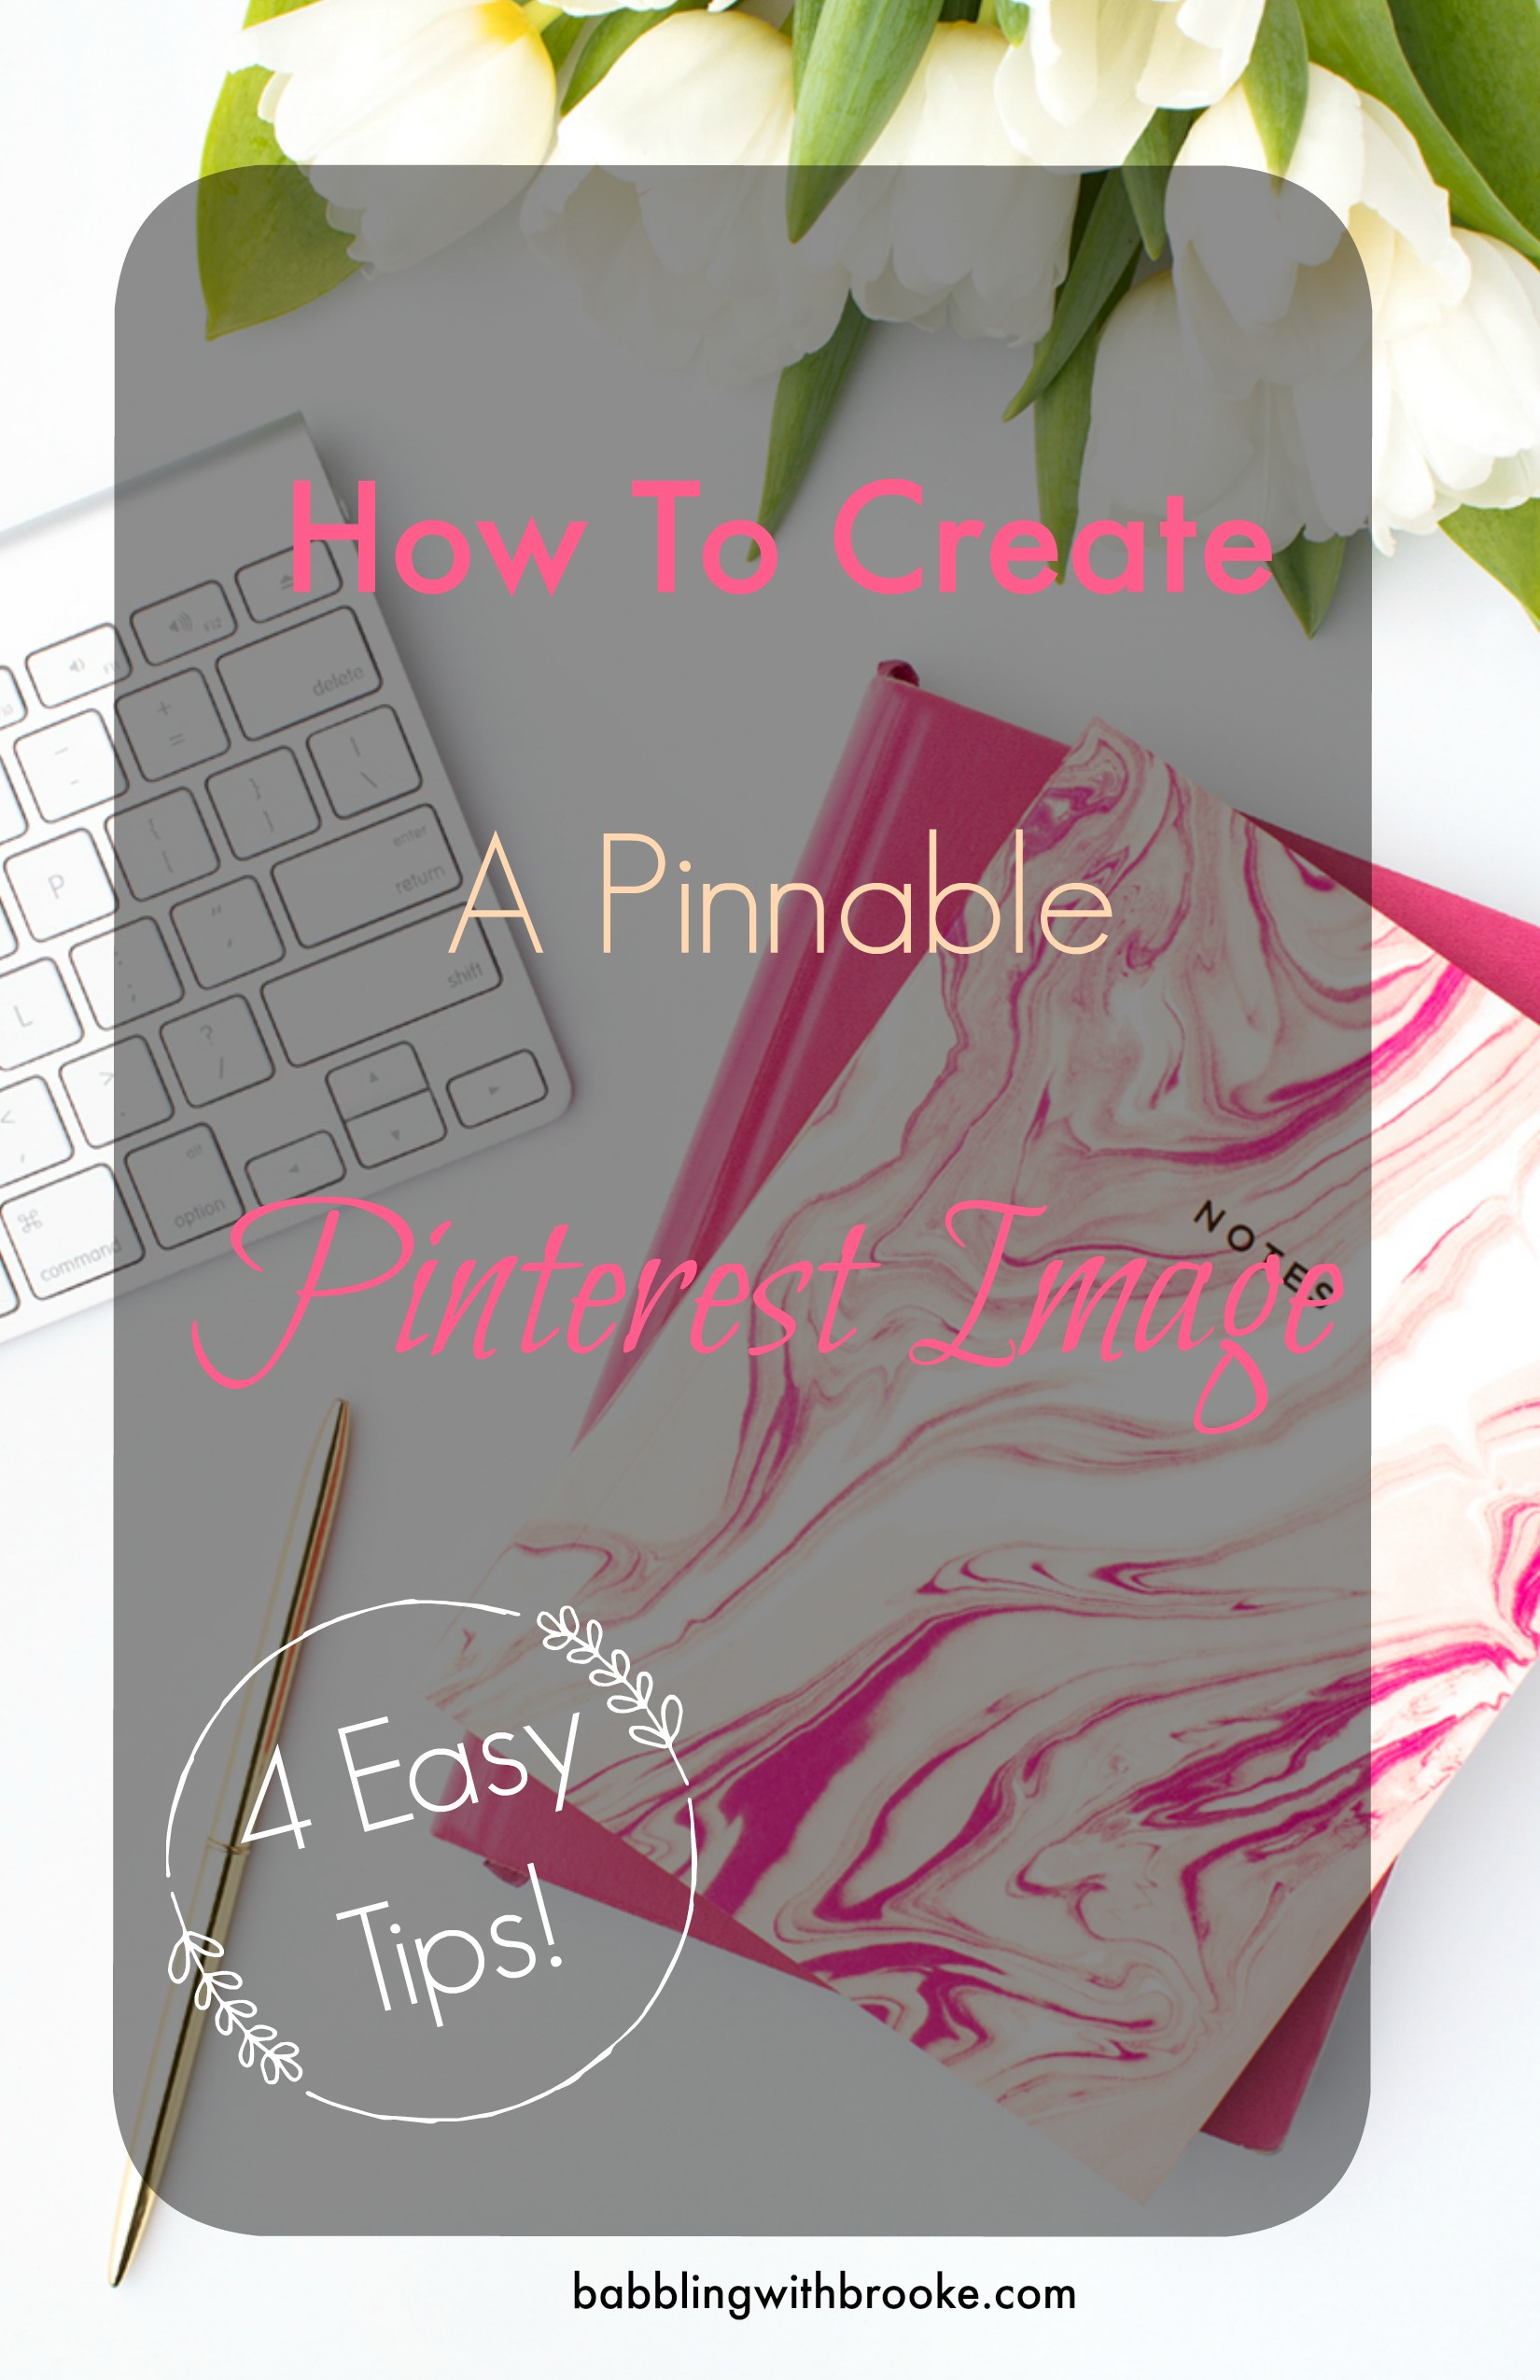
I hope these 4 Tips helped you get a better understanding of how to create your Pins for Pinterest. There is so much to learn with Pinterest and its’ ever changing preferences but if you stick to these five tips you are guaranteed to go far in the Pinterest world! Please email me at babblingwithbrookeblogger@gmail.com or go to my Contact Me Page if you have any questions or concerns. If you enjoyed this article please feel free to pick from three different Pinterest images ( 😉 ) to pin this blog post through the Pinterest link above.
What are some other ways you have found that have worked for your Pinterest Pins success?
Happy Blogging!


I’ve only recently gotten more involved in Pinterest and I’m in total agreement that pretty pins help! Who knew?! Descriptions are a big deal too! I’ve noticed with the new algorithm that my views have dropped significantly, so posts like this really help me to step up my game! Thanks for sharing!
Of course! I am so glad that you found it helpful! 🙂